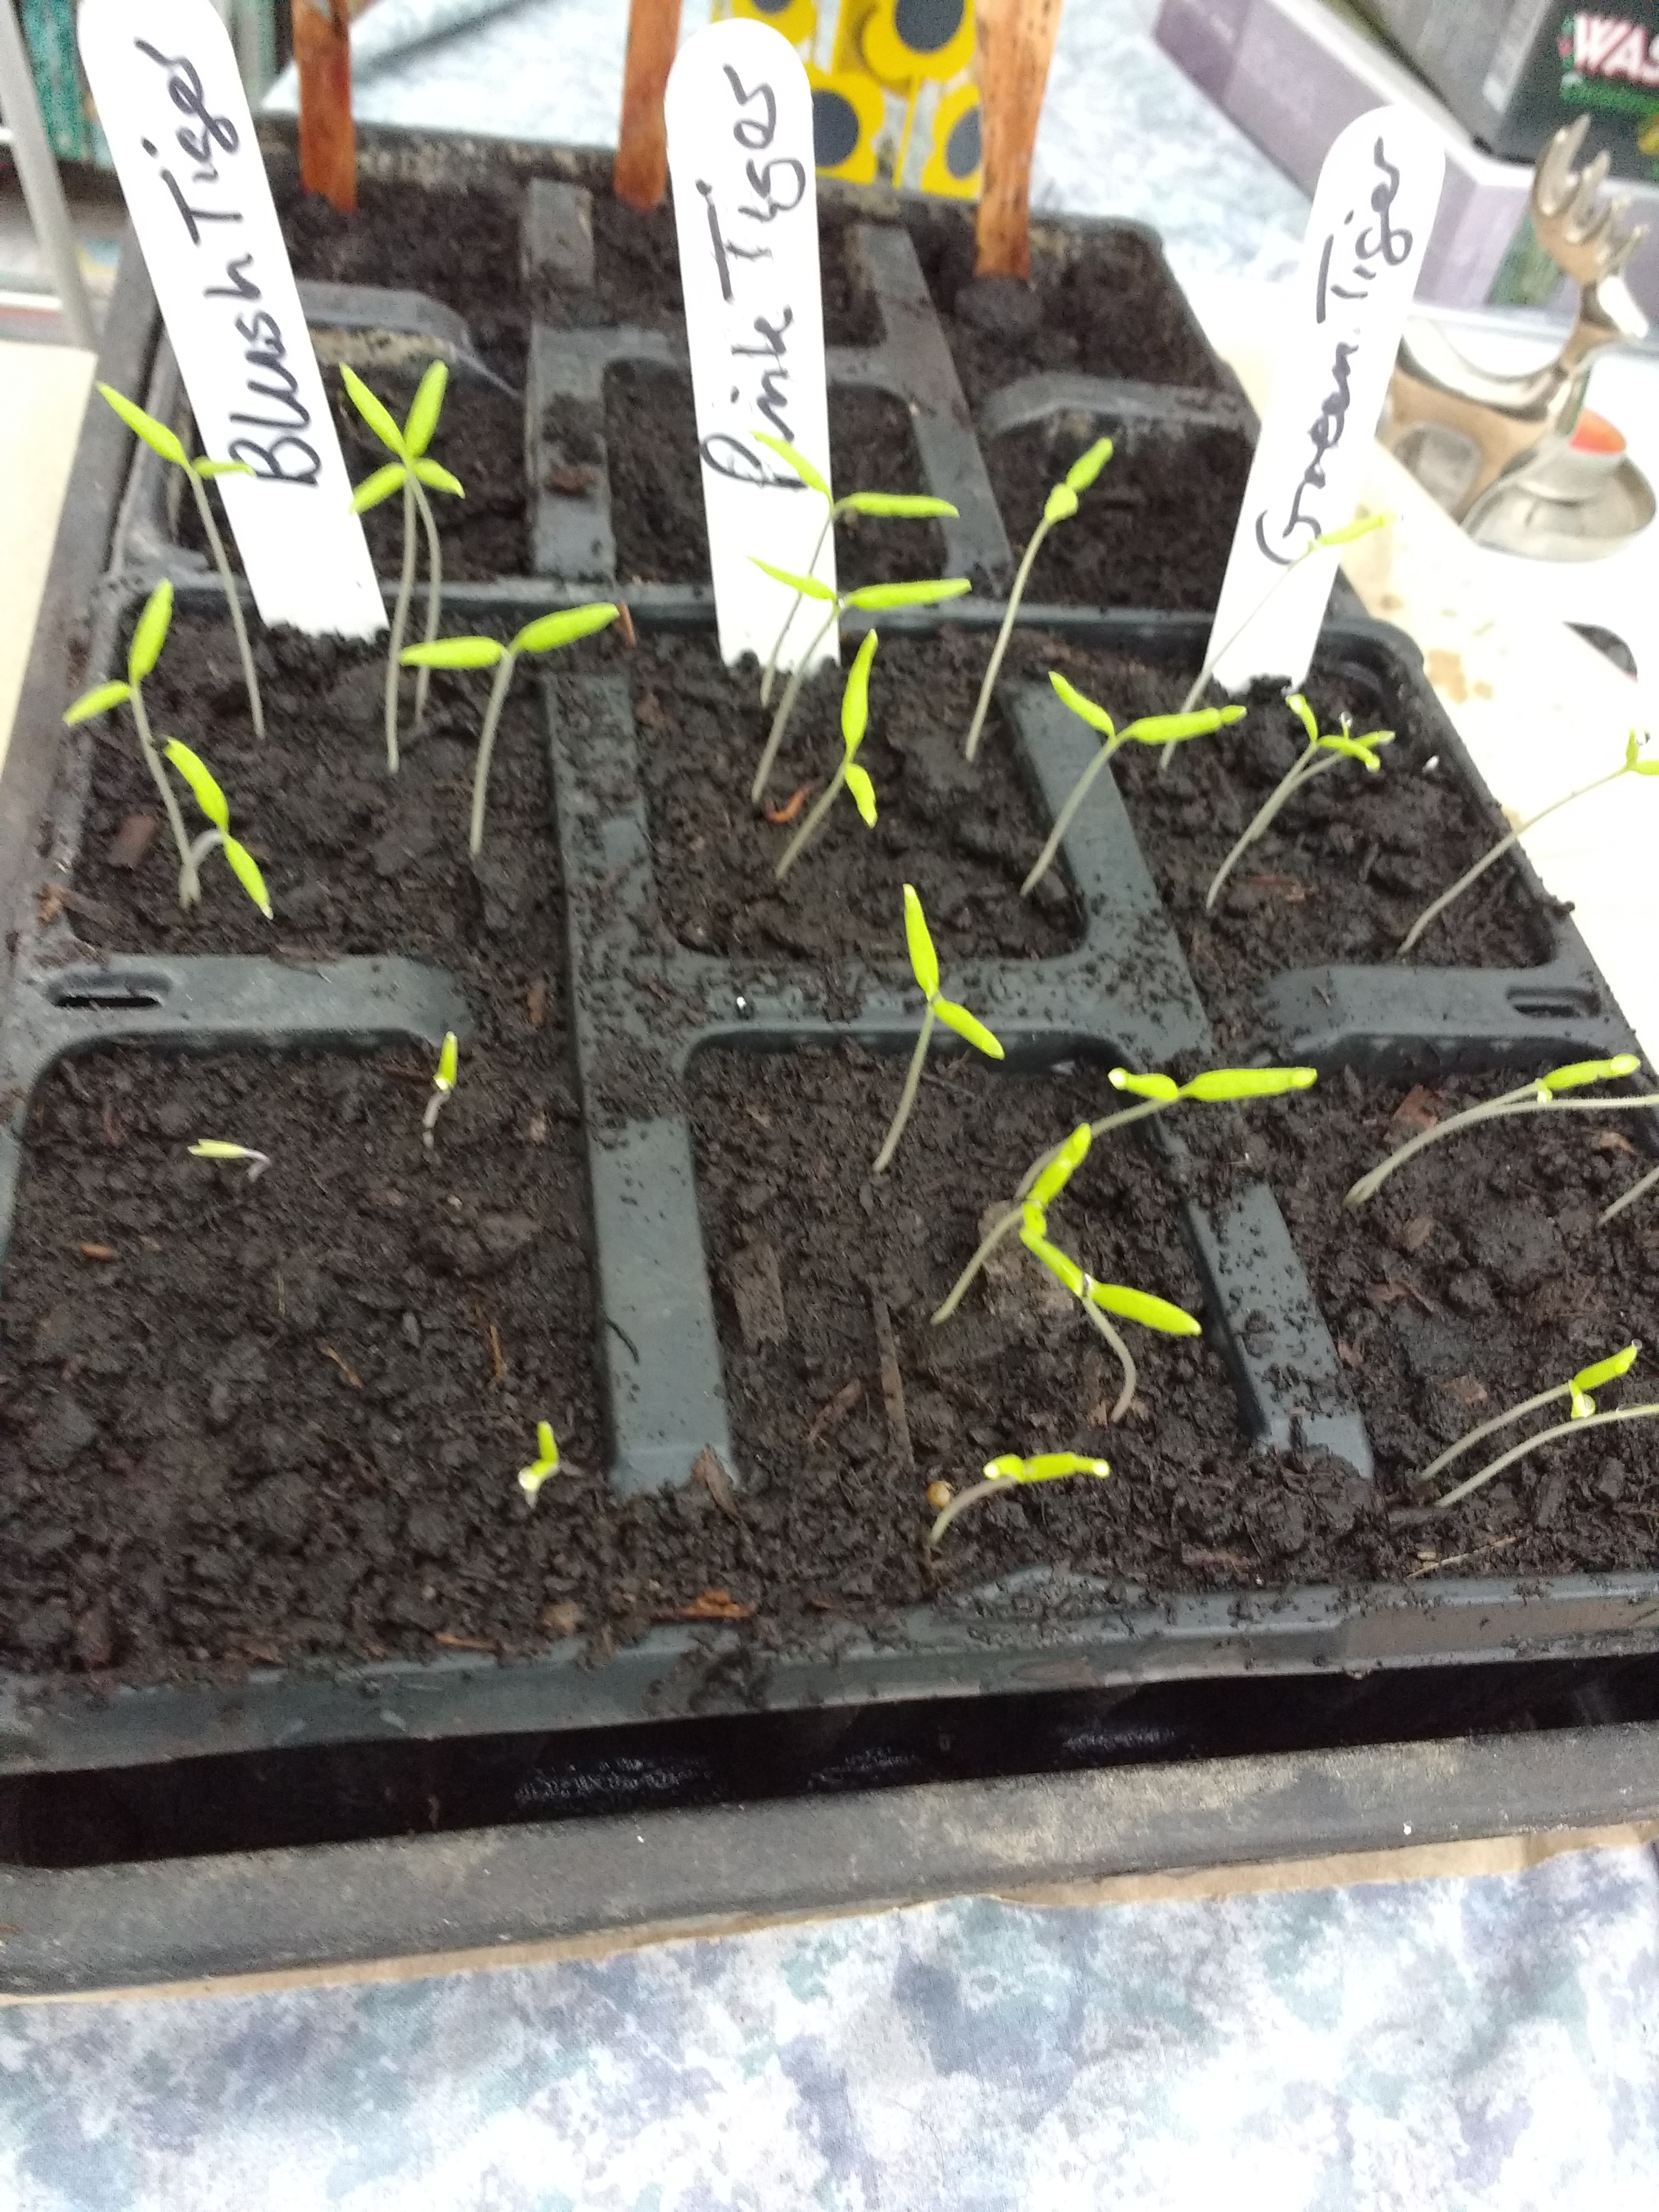

I spent a little time yesterday afternoon potting on my tomato seedlings. They’ve reached the point where they now have a good set of “true leaves” and are ready to be moved on.
[A quick aside. “True” leaves are the first leaves on a seedling that actually look like those on the adult plant, and not the “seed” leaves that are the first to appear. Potting on seedlings before they have their true leaves can mean that the seedlings won’t survive the transplanting, and it is more likely that you’ll damage the seedling moving it to it’s new home. I’ve seen a few pictures in the last few days where a keen gardener has potted on a seedling without true leaves. They might be lucky, but the seedlings stand a better chance with the patient gardener.]

I start by getting the new modules ready, filling them with good quality, multi-purpose compost. I know roughly how many seedlings there are, barring clumsy fingers, so I prepare all my modules beforehand.

Next I prepare a hole for each new seedling. One per module using my handy dibber pencil.

Then carefully I tease them out of their current home with the tip of the same pencil, being careful to keep as much of the seedlings root as possible. Being gentle and not yanking them out of the soil, will reduce any transplant shock and help them to establish in their new modules faster. Also handle them by the leaves and not the stem. Picking them up by the stem, can break the stem and you’ll loose the seedling. It seems a little
counter-intuitive but it works.
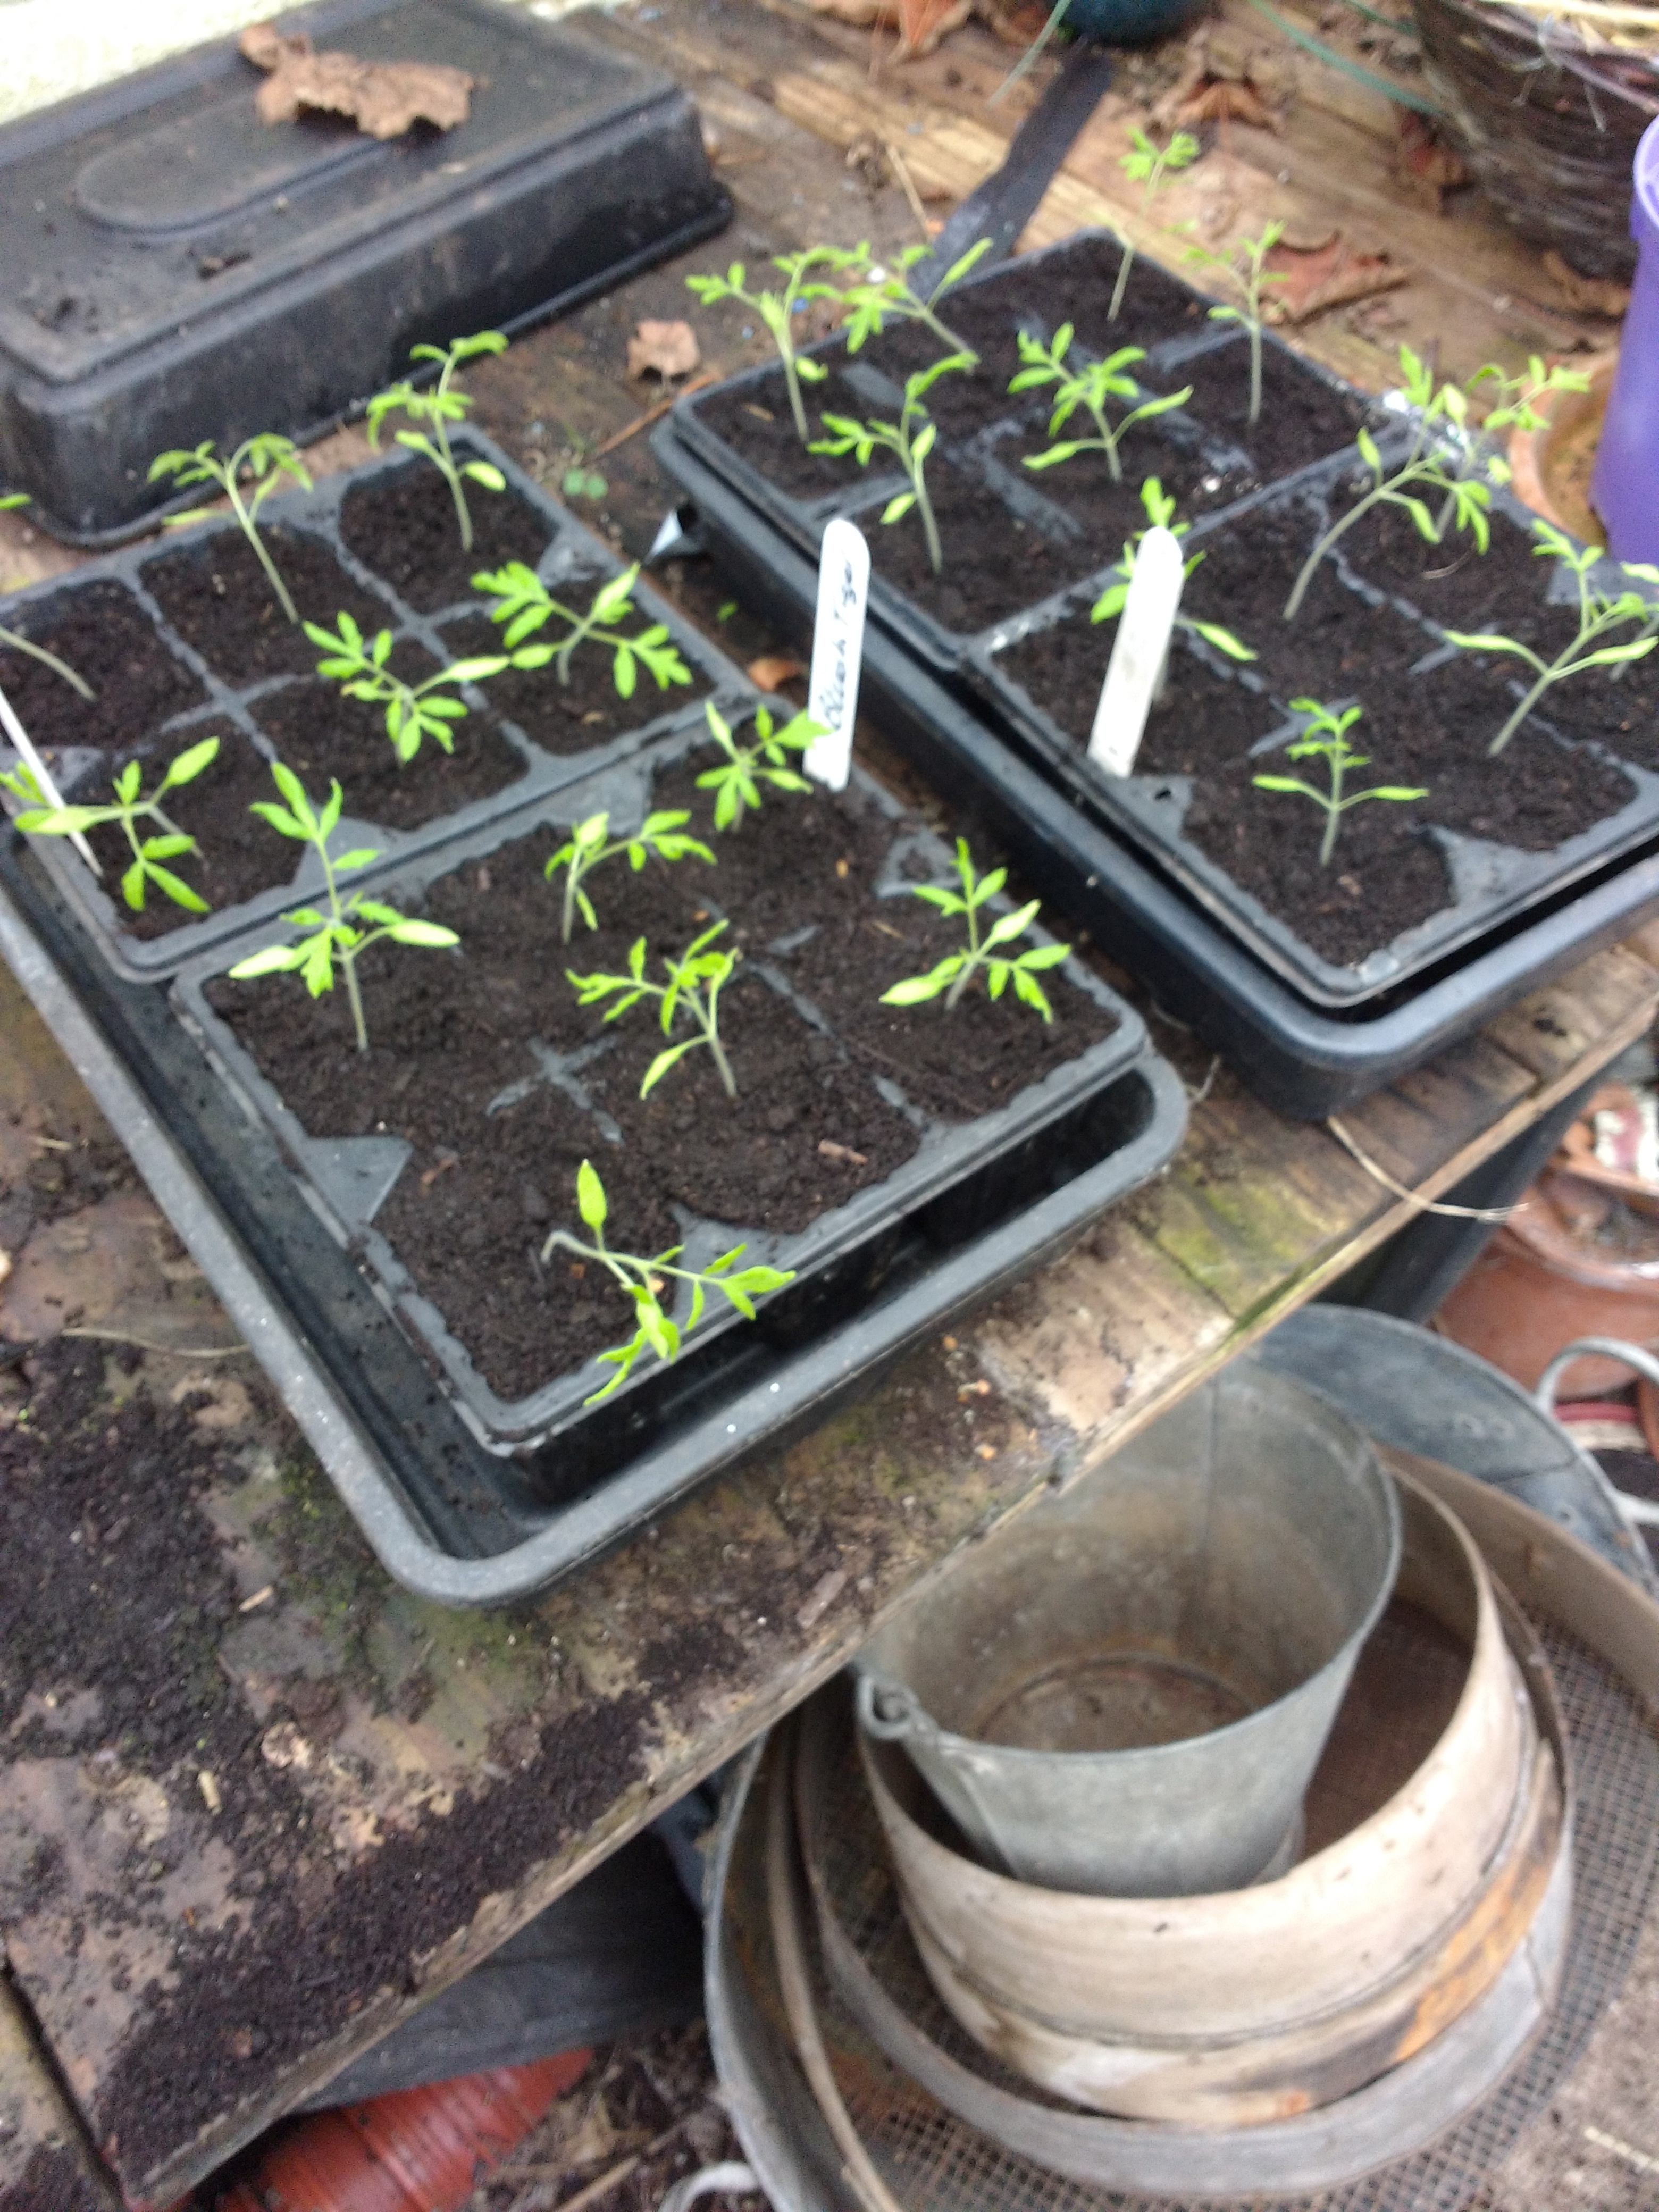
When I’m done, I move the module trays into gravel trays to help with watering, and give the seedlings a little drink around the top of the compost. Again being careful not to drown the seedlings and squash them under a deluge of water.
These now go back indoors to a warm and sunny spot e.g. a windowsill. They’re not ready to plant out yet, it’s too cold and they’re not big enough. I’ll probably pot them on again once more, before putting them in their final growing spot, once they have their first flowering truss.